Last updated: October 21, 2026
Quick Answer: build one identity theft documentation file on day one, keep it in at least 2 places, and use dated filenames so you can find proof in under 60 seconds.
Key Takeaways
- Start the file on day one, even if some reports are still pending.
- Keep proof of what happened, what you sent, and when you sent it in one place.
- Group papers by event, then by date, and use one naming system throughout.
- Use dates, entities, case numbers, and document types in filenames when available.
If you are trying to fix identity theft, the fastest way to lose time is to keep the evidence scattered across email, drawers, and random screenshots. How to Keep Identity Theft Documents Organized for Disputes and Recovery means giving yourself one place to store the FTC report, police report, credit bureau letters, bank correspondence, and proof that you sent each item on time. The FTC says to act right away at IdentityTheft.gov, and Consumer Financial Protection Bureau guidance also stresses keeping records of disputes and responses.
Build the identity theft documentation file before you dispute anything
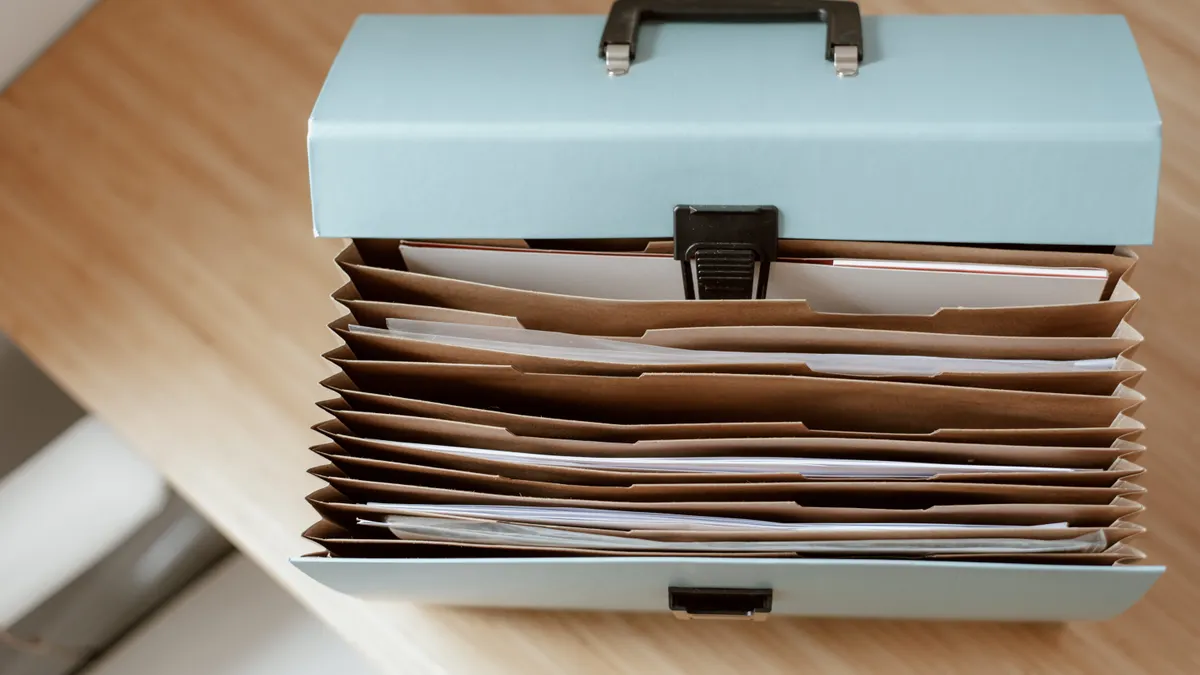
Start the identity theft documentation file on day one, even if you have not finished every report yet. A plain 1-inch binder, a file box, or a folder on your computer can work; the system matters more than the container. The goal is simple: when a bank, creditor, or credit bureau asks for proof, you can find it in under 60 seconds.
Open with four sections: case log, reports, correspondence, and evidence. Put a date on the front of every page or file name, using a consistent format such as 2026-10-20. The FTC recommends keeping records in a clear, organized way so you can track your case. If you use paper, keep a 3-hole punch and sticky flags nearby. If you use digital files, create one top-level folder and four subfolders.
The file is not for brainstorming or emotional notes. Keep it lean. A reader who later prints a packet for a bank wants fewer tabs, not more. That also means this system is wrong for someone who wants to track recovery casually with sticky notes and memory. You need a documented chain, not a loose collection of reminders.
What belongs in the identity theft documentation file?
The identity theft documentation file should hold every item that proves what happened, what you sent, and when you sent it. That includes the FTC report, the police report, credit bureau letters, bank correspondence, screenshots, mail receipts, and any account statements showing the fraud.
Use this rule: if the document could answer “who, what, when, or how did you send it,” save it. The practical set usually includes:
- FTC report confirmation and case number
- Police report or incident report
- Fraudulent account statements
- Bank or cardholder letters
- Credit bureau dispute letters and responses
- Proof of submission, such as confirmation pages and email receipts
- Certified mail receipts and tracking pages
- Screenshots of account changes, alerts, or login notices
- Notes from phone calls, with the date, time, number dialed, and representative name if given
Do not mix originals with scratch notes. Put originals in a clear sleeve or scan them into PDF files, then store the working copy in your active section. If a bank later asks for a 2-page packet, you can pull the exact pages without sorting through unrelated printouts.
A common mistake is saving only the final letter and skipping the evidence behind it. That costs you time when someone asks for proof that a dispute was timely or that a notice was sent. The fix is boring but reliable: save both the document and the proof of submission together.
How do I organize the papers so I can find them fast?

Organize the papers by event first, then by date, and label every file the same way. That makes a later dispute packet easy to build without searching through piles.
Use this order for paper files:
- Put the newest item on top of each section, with the date written in the upper-right corner.
- Separate each fraud event with a divider or tab, such as “Bank card,” “Credit file,” or “New account.”
- Clip the related proof of submission to the back of the document it supports.
- Keep one master case log at the front with a running list of what was sent, to whom, and on what date.
- Review the stack every 7 days and move resolved items to an archive section.
A working case log is the spine of the file. It can be a simple 2-column sheet: left side for date, right side for action. Add the method too: mail, upload, fax, or email. If you later need to show that a packet went out on a certain day, that log gives you the path back to the source documents.
Because the papers usually move between active use and storage, a simple archive method helps prevent pileups. Paper works well if you need to carry a packet to a branch office, but it has a drawback: loose pages vanish. Use a zipper pouch or accordion file if the set is large. If the file is mostly digital, print only the documents that you expect to mail or hand-deliver.
What is the best way to name files and save screenshots?
What is the best way to name files and save screenshots? A practical approach is to use the date, the entity, the account or case number if you have it, and the document type. A filename like 2026-10-20_ABC-Bank_claim-letter.pdf is far better than scan001.pdf, and the CFPB advises keeping records that you can retrieve quickly if you need to dispute a problem.
Use a naming pattern and do not break it halfway through the case. A good basic format is:
YYYY-MM-DD_entity_document-type_detail.pdf
That gives you sortable files in Finder, File Explorer, or any document system that sorts by name. Keep screenshots in PNG or JPG form and name them the same way. For example: 2026-10-20_credit-monitoring_alert_login-change.png.
For screenshots, capture the full screen when possible, not just the fraud area. The clock, browser bar, or account page title can matter later. If the image shows a confirmation number, keep the entire screen. If you crop it, save the original too, and if you are unsure what matters in a specific dispute, consult the relevant agency or a qualified professional.
Since screenshots are often used as proof of timing, save the screen confirmation before you move on. Store digital files in one main folder and back them up in at least two places, such as your computer plus a cloud drive, or a computer plus an external USB drive. A cloud folder helps if your laptop is lost, but paper still helps if you need to print fast. The trade-off is obvious: digital is searchable, paper is easier to hand over. A strong file uses both.
How do I save proof of submission and mail tracking?
Save proof of submission in the same folder or binder section as the item you sent, because that proof is what turns a document into evidence. A confirmation email, upload receipt, fax confirmation page, or certified mail tracking page should sit right behind the letter it supports.
For mailed items, keep the receipt, the tracking number, and the delivery status page. If you used certified mail, keep the mailing receipt and the return receipt if one was provided. If you sent something by email, save the sent message as a PDF or keep the full email with headers if your system allows it. A screenshot of “sent” without the address line is weaker than the actual message.
Make a short note in the case log the same day you send anything. Write the exact date, the recipient, the method, and what was included. Example: “2026-10-20 — mailed police report and FTC report to credit bureau; certified mail; receipt in Section 3.” That note saves you from guessing later.
This step matters because many disputes turn on timing. A packet that arrives without proof of submission can be treated like a packet that was never sent. The file should remove that argument before it starts.
Common filing mistakes that slow disputes down
The most common mistake is using one giant folder for everything. That creates a 20-minute search every time someone asks for one page, and it makes it easy to miss a deadline. Split the file into at least four labeled sections instead.
Another mistake is saving duplicates under different names. That clutters the folder and hides the newest version. Keep one working copy and one archive copy when needed; delete nothing unless you are sure the copy is saved elsewhere.
A third mistake is keeping screenshots without context. A cropped image of a fraud alert may prove that something changed, but not when it happened or which account it came from. Save the original capture and label it clearly.
Do not rely on memory for call notes. A phone conversation without date, time, and the name or department you reached is hard to use later. Write those details in the case log before the day ends.
This system is not for someone who wants a perfect archive of every personal document ever scanned. It is for a current dispute and recovery case. If you try to preserve everything, you bury the useful papers under clutter.
How long should you keep the file and when should you archive it?
Keep the active identity theft documentation file until every dispute, correction, and follow-up tied to the case is closed, then move the records into an archive that stays easy to search. A common practical approach is to keep the active set in one place and the closed set in a clearly labeled archive box or folder.
Do not scatter the archive across old email threads and unlabeled flash drives. Put the final packet, the key correspondence, and the proof of resolution together. If you close the case and later find a lingering collection issue, you want one folder to reopen, not five places to search.
The archive should still follow the same naming system and date order. If you used paper, keep it in a labeled accordion file or banker’s box with a lid. If you used digital storage, keep the folder name simple and stable. A title such as Identity Theft - Closed Case - 2026 is easier to recover than a vague name like Important Stuff.
This page supports the broader identity theft reports and recovery records hub, which can help connect the paperwork trail to the rest of the process without turning this page into a filing guide for disputes themselves.
What papers should I save after identity theft?
Save any paper that shows the fraud, your response, or someone else’s response to your report. That includes the FTC report, police report, bank letters, credit bureau letters, account statements, screenshots, certified mail receipts, and proof of submission. If a document can help prove timing or content, keep it.
How long should I keep fraud records?
Keep fraud records until the case is fully resolved, then move them to an archive you can still reach quickly. Some documents may be worth keeping longer if they relate to an unresolved account or future correction, but that is a legal and financial judgment, so a consumer lawyer or financial professional can help if the case is complicated.
What is the best way to store recovery documents?
The best way is a hybrid system: one physical folder or binder for printed essentials and one digital backup with dated filenames. Keep the same structure in both places so you can find the same item twice. Paper is fast to hand over; digital is fast to search.
Drafted with AI; not yet reviewed by a person.